So, from time to time we get calls from customers that have crushed their trigger body. Usually they realize they did something wrong (like not following the correct procedure) and call to throw themselves on the mercy of the customer service gods. This probably explains the sign in customer service that reads, "CSR Games. May the odds ever be in our favor."

However, there are those customers that not only did not follow the correct process, but when challenged with a particularly stubborn trigger bar pin decide to reach for the bigger hammer, subsequently crushing the trigger beyond any hope of it ever working properly.
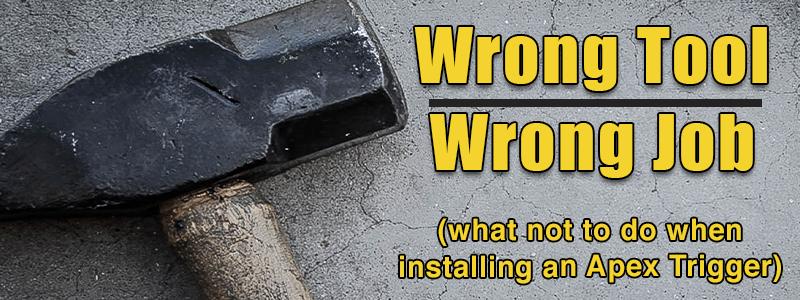
If you are among the "all this job needs is a bigger hammer" crowd, then we have four little words to make your next trigger installation go smoothly.
Put The Hammer Down!
We're not kidding. Even if your local gunsmith tells you he (or she) is the "best gunsmith in the (town, county, region or state)" the use of a hammer is not recommended. You have a significantly greater chance of ruining your trigger body if you use a hammer instead of a bench vise (one with smooth jaws is important). Ask us how we know.
Over the years we've crushed our own fair share of triggers, and we're kinda good at this gunsmithing thing. In fact, outside of Smith & Wesson itself we know more about the M&P, Shield and SDVE pistols than anyone. So over the years we've figured out what is and is not the best process for working on these pistols. And when it comes to putting a trigger body on a trigger bar, this is the CORRECT process to use.
(Now would be a good time to watch the videos below)
We'll assume you watched the videos, even though you probably just saved that step for later. Moving on... Use this vise process when installing one of our M&P, M&P M2.0, Shield, Shield 45, Shield 2.0 triggers. You also want to use this when installing a Glock trigger body
With the Shield and the Glock trigger bodies you will want to take care not to crush the upper part of the trigger body where the trigger bar goes in. This is done by shimming the area for added support. If you click on that red graphic image above right, you will open a PDF that walks you through how to do this with feeler gauges.
Of course, if you get to the point in the install process where it becomes difficult and you get frustrated enough to start reaching for the sledgehammer in the corner, that would be the time to call our customer service at 623-322-0200. They will not only talk you down from doing your best Thor impersonation but they will also help you figure out what you are doing wrong. Remember, like we noted earlier, we kinda know what we're doing and we're more than happy to assist you when you get stuck.
...Now watch the videos.
I've only installed a few of your triggers for customers in our shop, along with a multitude of other things that have come thru the door.
Telling people to NOT use a hammer could save so MANY broken guns.
Remember, Gunsmith's children went thru college because of WD-40 & Dremel Motor tools ! (Grad school requires YouTube)
Excellent work guys.
Best,
albert